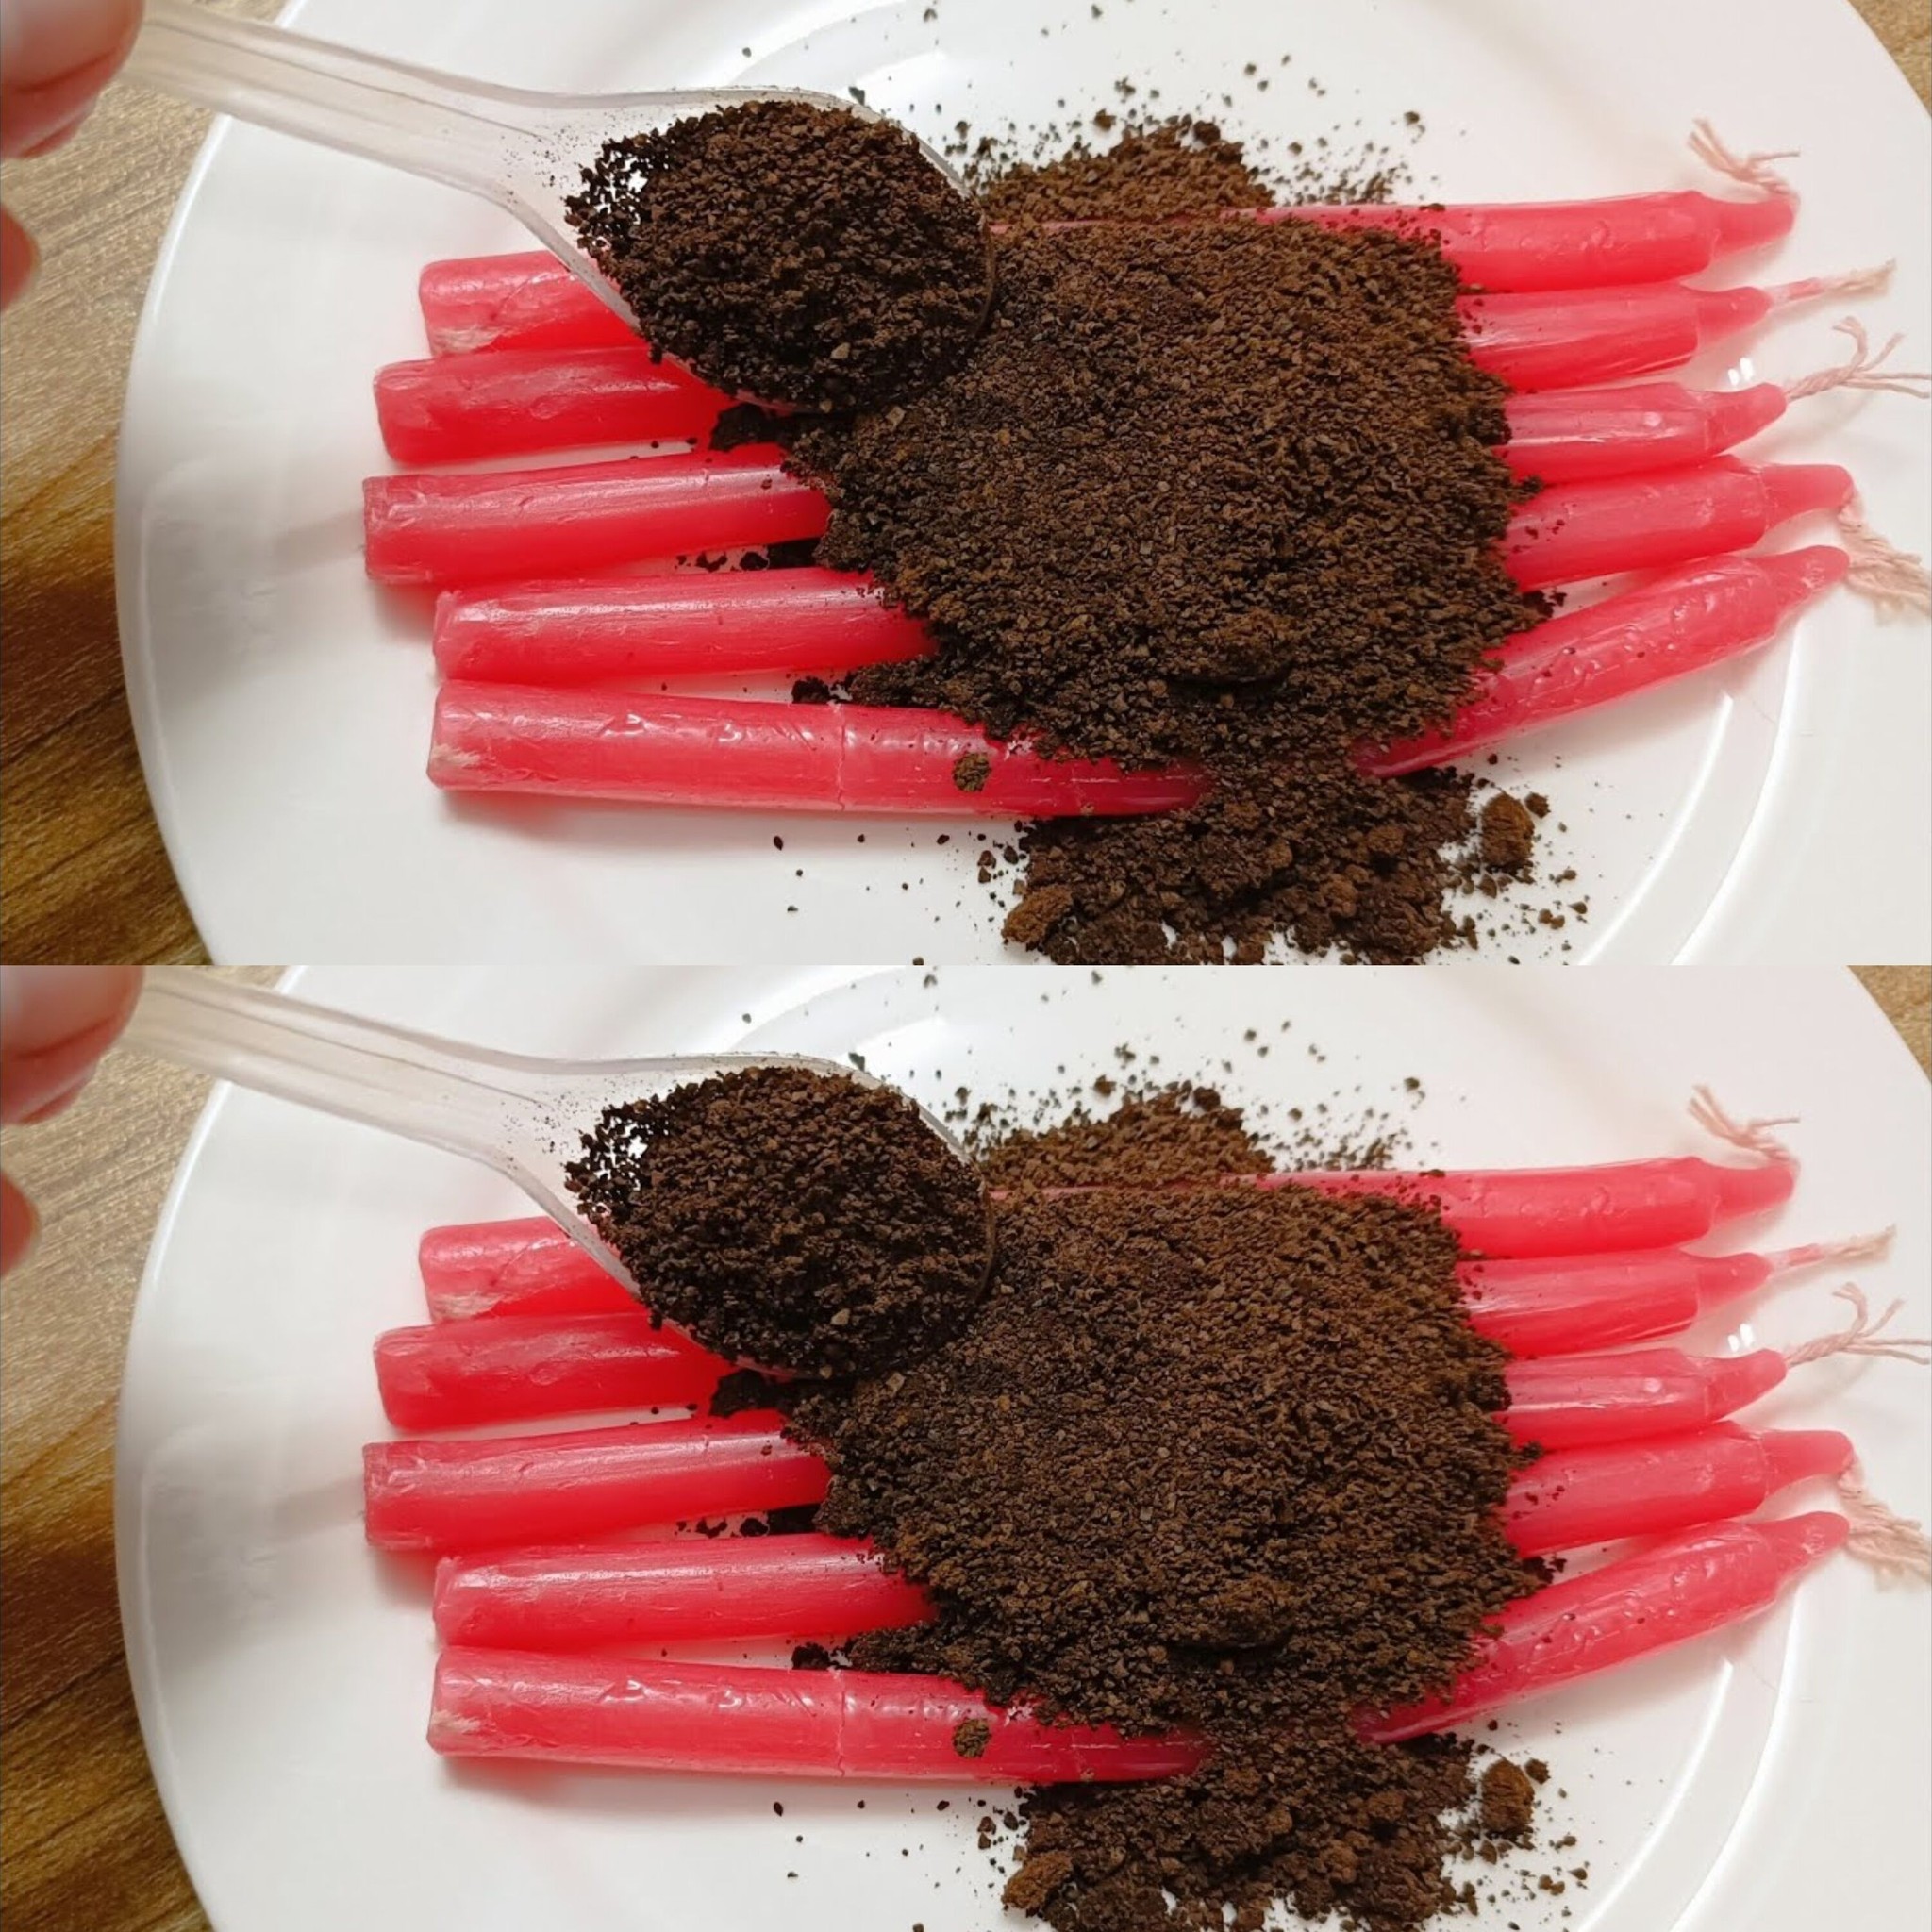
Keeping insects at bay doesn’t always require harsh chemicals or expensive solutions. Sometimes, a simple and aromatic remedy like a coffee candle combined with cloves can be surprisingly effective. This DIY project not only fills your space with a pleasant aroma but also helps deter pesky insects naturally. Here’s how to create your own coffee candle with cloves to enjoy an insect-free environment.
Benefits of Coffee and Cloves for Repelling Insects
Coffee Grounds: Coffee grounds are known to repel insects, including mosquitoes and ants, due to their strong smell, which overwhelms the insects’ sense of smell and deters them from the area.
Cloves: Cloves contain eugenol, a natural insect repellent. Their intense aroma is particularly effective at keeping flying insects away.
Materials Needed
Unscented candle wax (soy wax or paraffin)
Wicks
Coffee grounds (used or fresh)
Whole cloves
Double boiler for melting wax
Candle mold or a small jar
Stir stick or spoon
Essential oils (optional, for added scent and repellency)
Instructions for Making a Coffee Candle with Cloves
Step 1: Prepare Your Materials
Prepare the Mold: Secure the wick in the center of your candle mold or jar. If using a jar, you can wrap the end of the wick around a pencil or stick laid across the top of the jar to keep it centered.
Mix Coffee and Cloves: In a small bowl, mix a handful of coffee grounds with whole cloves. The amount can be adjusted based on the size of the candle and desired intensity of the scent.
Step 2: Melt the Wax
Melt the Wax: Use a double boiler to melt your candle wax. If you don’t have a double boiler, you can place a smaller pot or heatproof bowl over a larger pot of boiling water.
Step 3: Combine Ingredients
Add Coffee and Cloves: Once the wax is melted, lower the heat and add the coffee and cloves mixture. Stir gently to distribute evenly.
Add Essential Oils: This is optional, but you can add a few drops of essential oils like citronella, eucalyptus, or peppermint for additional insect-repelling properties and fragrance.
Step 4: Pour the Wax
Pour the Wax: Carefully pour the melted wax into your prepared mold or jar. Make sure the wick stays centered as you pour.
Step 5: Allow to Set

